Fantasy Film and Dreamweaver Stencils Melting Technique


ART GITTER AND DREAMWEAVER STENCILS
ARE TEAMING UP THE ENTIRE MONTH OF JUNE TO BRING YOU AN AMAZING CREATIVE COLLABORATION MIXING DREAMWEAVER STENCILS AND ART GLITTER. COME ALONG FOR THE RIDE…WE PROMISE IT WILL BE A SPARKLING ONE!
Welcome to the Art Glitter/Dreamweaver Stencil cross promotion month. We have paired up with this wonderful company to show you how our glitter can be used with these beautiful and detailed stencils. All of our designers will be using the double glitter technique! Make sure and check out Dreamweaver Designers every Thursday by checking out the individual blogs at the end of this post, or by going to the Dreamweaver Stencils blog!
Make sure and play along all month with this fun challenge. Make a double glitter card or piece, blog about it and let Dreamweaver know by going to their blog and filling out their “Mister Linky’s Magical Widget” to let them know that you have participated! Also, make sure and LINK to the Dreamweaver site to be eligible for 1 of 4 prize packages featuring stencils and glitter! You may even get your creation featured on Art Glitter’s Blog!
Hope everyone will play along with this fun challenge. Hope even if you don’t play along with the challenge you will take advantage of the great price of glitter in June!
Be sure to check out the other Dreamweaver Stencils’ design team designers:

To see my Fantasy Film and Dreamweaver Stencil Melting Technique instructions check out my Art Glitter post (as soon as it posts and I’ll make the link, or look for it yourself here). Above is Dreamweaver Stencil: LX7007 Leaves with 3 layers of Fantasy Film: In the Glen.

Dreamweaver Stencil: LJ845 Bamboo, on left with 3 layers of Fantasy Film: In the Forest, on right with 1 layer of Fantasy Film: Dandilion. To make several layers, iron the layers together before taping onto stencil.

Dreamweaver Stencil: LJ901 Mosaic Swirls with 1 layer of Fantasy Film: Krista’s Eyes. I tried one, two and three layers with several designs and my favorites were always the single layer examples. Also the easiest to do.

Above is Dreamweaver Stencil: LG743 Stylized Dahlia, left with 1 layer of Fantasy Film: Strawberry, right with Fantasy Film scraps. This stencil is a bit tricky and I thought my end results weren’t that great, until I turned the multi-colored Film example over and saw the burn marks on it, then I was happy.
The more layers you have, the longer it will take for melting to happen. And in the case with these stencils, you loose some control too.

Dreamweaver Stencil: LX014 Daisy Background, left with 1 layer of Fantasy Film: Watermelon, right with 1 layer Fantasy Film: Krista’s Eyes.

Dreamweaver Stencil: LX014 Daisy Background, left with 3 layers of Fantasy Film: In the Forest, right with 2 layers Fantasy Film: Krista’s Eyes.

Dreamweaver Stencil: LX7007 Leaves with 1 layer of Fantasy Film: Blue Nile. This one is my favorite. I’m making a collage with it right now. More on that later! ~emm
Graphic 45 Loot – Ya Hoo!
Gearing up for my adventure with Art Glitter, Want 2 Scrap, Graphic 45 and Clearsnap during a blog hop next month. Here’s the loot that came in to Art Glitter from Graphic 45. I had a BLAST choosing what to get our design team for this crafting alliance, I hope everyone else likes what I got. I tried to get really versatile papers and some fun elements that would be fun to glitter… of course!

 Looks like fun doesn’t it. You’ll have to get some too. Stay tuned!
Easy Peasy Stencils, Spray Glue and Glitter


ARE TEAMING UP THE ENTIRE MONTH OF JUNE TO BRING YOU AN AMAZING CREATIVE COLLABORATION MIXING DREAMWEAVER STENCILS AND ART GLITTER. COME ALONG FOR THE RIDE...WE PROMISE IT WILL BE A SPARKLING ONE!
Visit the Art Glitter blog and the Dream It Up! blog for fabulous inspiration from both talented design teams. We are encouraging all of you to play along with the challenge of creating with Dreamweaver Stencils and Art Glitter*, preferably using the Double-Glitter Technique. Just link your creation to the Mr. Linky on the Dream It Up! blog, or email pics to lynell@dreamweaverstencils.com, for an opportunity to win one of four fabulous glitter and stencil prize packages. One winner will be chosen each week. (US and Canada only, please).
More Dreamweaver Stencil fun.
While I was toiling over my paint-stencil-glitter technique I had a brief brain blurp. I was thinking about how the soap repels the adhesive on sticky paper and I thought it might repel some spray adhesive. And it does, fairly well.

Dreamweaver Stencil LM2004 Lizard, Art Glitter Microfine Transparent colors.
Things U Need
Dreamweaver Stencil
Dreamweaver’s Handmade Soap
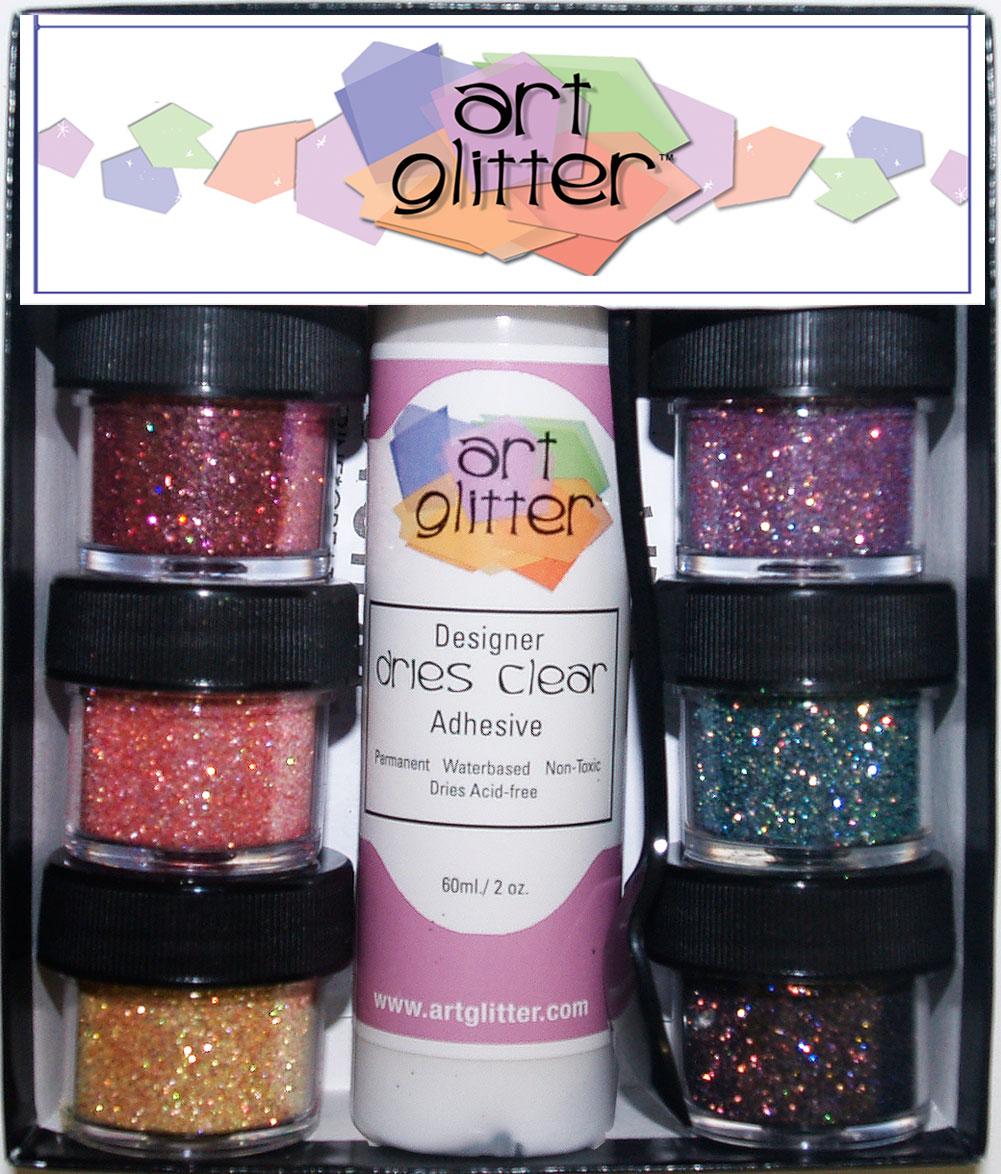
Art Glitter Ultrafine: Transparent, Pearlescent, Opaque colors
Art Glitter Microfine: Transparent and Opaque colors
Spoon
Cheapo Spray Glue
Matte Board
Tape
Spray Lacquer

Dreamweaver Stencil LG730 Peacock.
Soap up the top side of your stencil. This is opposite of the side you soap in the Double Glitter Technique. Then depending on how precise you want to be you can either tape your stencil to your matte board or simply lay it in place on top of a flat disposable surface outside.
I’m really lazy about it, I just hold the stencil in place with my thumb and apply the spray adhesive. Makes my thumb nice and gooey with adhesive. My lazy method is not a precise method, but doable.


Dreamweaver Stencil LG730 Peacock, Art Glitter Microfine Transparent colors.
First I started sprinkling glitter on while the stencil was in place. Then I realized it would be a lot less mess to remove the stencil and add glitter, no need to leave stencil there. The only thing is that the design is harder to see. But I’m always up for a little unexpectedness.

Dreamweaver Stencil LG613 Koi with Spray Glue.

Dreamweaver Stencil LG613 Koi, Left- Art Glitter Microfine Opaque colors, Right- Art Glitter Microfine Transparent colors.
The only surface I experimented with in these photos was matte board. The fuzzy kind gave me most wonderful results. I’m did make my first experimental one with cardstock and it worked well too. I must admit too that my favorite is Microfine Art Glitter gives the best/most detailed coverage.
The fuzzy matte boards also accepts spray lacquer well. You can over-spray paper and other surfaces easily. It is best to use several light coats than to cake it on in one coat, just like the directions say on the can! This is the best method for the glitter too, it will help you gage how thick you need the lacquer to keep glitter on, without dulling the glitter.

I really enjoyed the results I got from leaving my tape off. Great borders are created.
To clean glue off, use same techniques as for cleaning acrylic paint off stencils. Described in this POST…

Dreamweaver Stencil LG743 Stylized Dahlia, Art Glitter Ultrafine Transparent colors.
“We’ve only just begun….” I have been slowly dreaming up several techniques with Art Glitter and Dreamweaver Stencils. I know I won’t be able to get them all done by the end of our joint adventure in July, but I will carry on and attempt to get them all out of my head and into practice.
There is still Glass Glitter to explore and fabric, don’t get me started, oh too late. Next… fun with stencils and Fantasy film.


Above: Art Glitter and Dreamweaver Stencil Prize package!
For more inspiration from the Dream Team, here’s the blog list for this week:
Dream It Up! blog
Pam Hornschu
Laura Drahozal
Louise Healy
Wendy Jordan
Terrece Siddoway
Kristi Van Doren
Georgia Sommers
Lee Kellogg
Jessie Hurley
Liz Martin
Cyndi Bundy
Cherylynn Moser
My New Favorite Thing – Stencils, Paint and Glitter

ARE TEAMING UP THE ENTIRE MONTH OF JUNE TO BRING YOU AN AMAZING CREATIVE COLLABORATION MIXING DREAMWEAVER STENCILS AND ART GLITTER. COME ALONG FOR THE RIDE...WE PROMISE IT WILL BE A SPARKLING ONE!
Visit the Art Glitter blog and the Dream It Up! blog for fabulous inspiration from both talented design teams. We are encouraging all of you to play along with the challenge of creating with Dreamweaver Stencils and Art Glitter*, preferably using the Double-Glitter Technique. Just link your creation to the Mr. Linky on the Dream It Up! blog, or email pics to lynell@dreamweaverstencils.com, for an opportunity to win one of four fabulous glitter and stencil prize packages. One winner will be chosen each week. (US and Canada only, please).
For more inspiration from the Dream Team, here’s the blog list for this week:
Dream It Up! blog
Pam Hornschu
Laura Drahozal
Louise Healy
Wendy Jordan
Terrece Siddoway
Kristi Van Doren
Georgia Sommers
Lee Kellogg
Jessie Hurley
Liz Martin
Cyndi Bundy
Cherylynn Moser

Dreamweaver Stencil: LG743 Stylized Dahlia and Art Glitter Ultrafine Transparent colors.
Oh yes, I’m in love. Dreamweaver Stencils, Acrylic Paint and Art Glitter.
When I received my stencils from Dreamweaver a few weeks ago, I read the instructions describing embossing and stenciling techniques and that they worked with, among other mediums, acrylic paint. “Oh” I said to myself…”glitter sticks to acrylic paint”, my mind was off and running!
After many trials and errors I came to settle upon using a wet acrylic background as my base. But before I get too far ahead, here are the tools you need:
A thick watercolor paper
Acrylic/watercolor paintbrush
Palette, water cup, paper towels
Spray bottle filled w/ water
Acrylic Paint
Dreamweaver Stencils
Art Glitter Ultrafine: Transparent, Pearlescent, Opaque colors
Art Glitter Microfine: Transparent and Opaque colors
Spoon
Aluminum Turkey tray (optional)
Spray Lacquer

Start creating your background by cutting your paper slightly larger than your stencil. Wet your paper with a spray bottle or by dripping water onto paper with paintbrush until it is pretty saturated. You will notice I work inside a large aluminum tray. You may have a favorite way to paint without a tray, but all I can say is…it is so much easier and cleaner!
Paint on your colors till satisfied. I try not to work over this part, keep it simple, let the water and colors mix on the paper. Keep your paint wet and not too thick, but not too wet. Dab up excess water with paper towel and go back with a little more paint. If too wet, the glitter will not stick, same with ‘too dry’, your proverbial ‘just right’ Miss Goldilocks please!
Artist Credit Alert! I learned everything I love about painting from a fabulous collage artist/teacher: Jacqueline Sullivan – if you ever get the chance to take a class from her, do it! The rewards are immeasurable.
I knew I had hit ‘just right’ when I would lay down the stencil, push in the center and the paper would cling to it with just a small amount of paint squeezing up through the design.

Dreamweaver Stencil: LG613 Koi and Art Glitter Microfine Transparent #718 Glade.
Sprinkle on your glitter with a spoon. You can keep your coverage sparingly for a hit and miss look or cover the design completely. The thicker your glitter coverage, the more careful you will need to be when removing the stencil so excess doesn’t fall onto your design.
After carefully removing stencil, let dry. Clean off your stencil before paint dries on it by rubbing under hot water gently between your hands. If paint has dried, use rubbing alcohol (in a well ventilated area) or hand sanitizer (Purell seems to have the most alcohol in it) and rub gently on a flat surface with an old toothbrush. You don’t want to bend any precious parts!
You have a choice now. The first layer of glitter to hit your paint will stick well. But the top layers will shed. You can let the top layers come off or you can keep them in place by using Spray Lacquer. I suggest going ahead and using the Spray Lacquer, it gives more dimension to your design and you’ll be happier!

Then make a card or a collage or so on.

Dreamweaver Stencil: LG655 Round Doily and Art Glitter Microfine Transparent colors with Microfne Opaque accents on cardstock.
Check out my Art Glitter post for more examples, step out photos and glitter love!

Dreamweaver Stencil: LJ901 Mosaic Swirls and Art Glitter Microfine Transparent colors.

Dreamweaver Stencil: LX7001 Damask and Art Glitter Ultrafine Transparent #249 Woodberry.
Blog Stash from Dreamweaver and Want 2 Scrap
Well I’ve managed to get my self involved with a couple of cross promotions coming up in conjunction with Art Glitter Blog Design Team in June. So you know what that means… I will actually get to do some art work done because I will have a deadline!
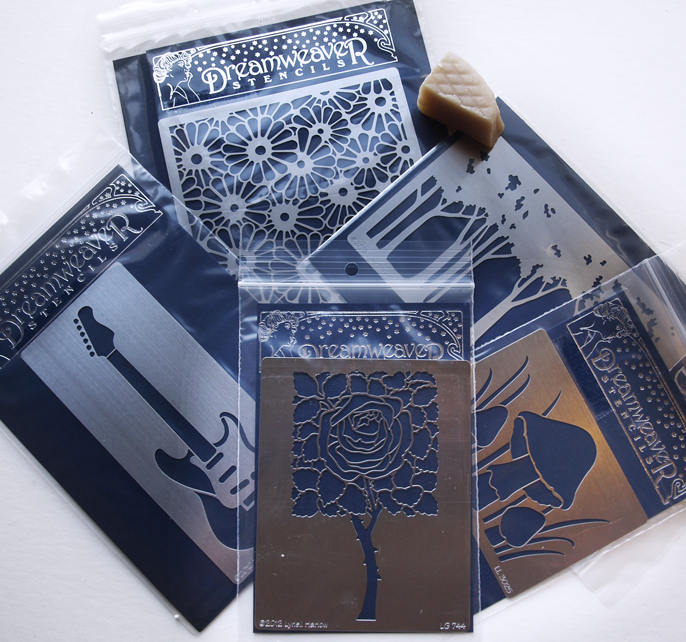
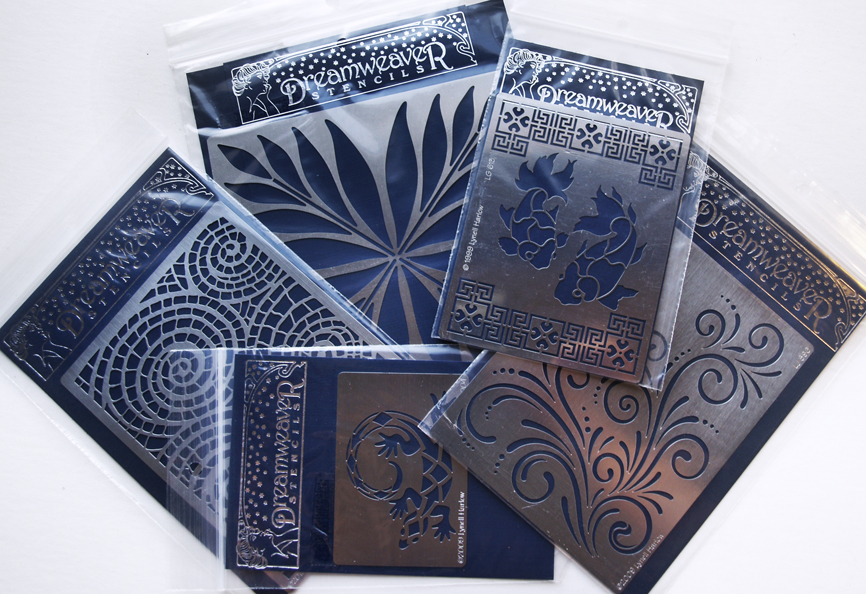
Dreamweaver Stencils gave a generous number of stencils to Art Glitter to use. So I get to use them!
And here is some fun bling from Want 2 Scrap. I’ve already started!
Wow, it truly is amazing how motivating a deadline is.
I actually thrive on deadlines. It’s the only way I got through college (like everyone else!) and I made it a way of life.

When I worked at the local newspaper years back, deadlines were not a problem!
So look forward to more from me soon! Thank you Dreameaver and Want 2 Scrap, I’m excited!
~emm
Momo the Lion Pg, Take Two
Now here’s the rest of the directions for my chunky book submission…the back side first.
After adding color to my photo and letting it dry completely I glued it onto a recycled food box. I purposely let the advertisement show on the back because I like it! It give it a kind of pop art feel.

The fluff is Fantasy Fiber from Art Glitter. I made a 4×4″ square on my board (the red lines) so I would know how big to make my fiber bed. Put baker’s parchment paper over it and laid a thin layer of Fantasy Fiber with 3 different colors.

More parchment paper on top and iron at a medium high setting for a second or two.

Here’s a nice fiber sheet ready to be glued onto the back.

Then I glued on my info sheet with the original photo of Momo to the backside as shown at top of post. Here’s the original photo – I call it Red Momo.

She looks sweet and harmless…
Now, I got ahead of my self a little bit. You can make the fiber back ground when ever you want, but if you want an easy application of glitter, do that first before gluing the fiber on. So that’s what I did. I used my Designer Dries Clear adhesive with our fine metal tip attached to get thin lines of glue. I outlined the border first and dunked it into Art Glitter’s Ultrafine Transparent #210 Fossil. Then I drew in more whiskers with the glue and sprinkled on same glitter color. Bling!

She thinks she’s a lion, so why not make her one?
I’ll have photos of the finished Chunky Book soon. Great stuff!
MomoTheLion Page Take One
Okay here we go, I joined up to do another Chunky Techniques Book from Art Unraveled classes I took last year. I promised to blog about it and just like everything else in my life, I only do it when up against a deadline. So here we go!
The theme for this exchange book is to design a page around a technique you learned from an Art Unraveled class taken within the last two years. This was easy for me, because my most useful class from 2011 was Karen Michel’s class Altered Photos.

The premise and tools are so easy, I really can’t believe I didn’t figure this out on my own. But it’s one of those things like, well, you don’t think about taking your photo, purposefully getting it wet and scratching emulsion off in layers when you’ve been taught your whole life to treat it so gingerly. I got to tell you, this is right down my alley!
Anyone who’s ever processed photos before, or even heard about how it’s done knows that at the end of all the chemicals you give your photo a nice water bath. Before it dries it is especially vulnerable to scratches.

So you get your photo printed from a commercial center like WalGreen’s (my new favorite printer). My photo above was originally color, I cropped in and made it B&W for this project. Even though it is B&W you want it to go through the color process so that you have all the color layers there (cyan, magenta and yellow). Don’t worry if that doesn’t make since, you don’t really have to know that, just get the color process anyway!
Why do I have so many? Because I have to do 28 of these for the exchange of course.

My tools of choice, the photo, a shallow dish of water that is larger than the photo. Sand paper. And a clay carving tool. Thank goodness I got that in college! You can see some black floaties in the water, that’s some emulsion I’ve rinsed off. When you do a lot of photos you need to change your water often.
I scratched away some detail, made her whiskers more prominent and suddenly she became a lion! The scratching took about three or more hours to do. My hands hurt, but I got over it!

I forgot to show my coloring tools! I just used my kids water colors and cheepo markers mainly. I like to use unnatural colors. About the only natural look is her green eyes.

Not quite done yet. Still need a backing, some Fantasy Fiber fun and glitter of course! This is my prototype above, however, I’m all done with the 28 for the Chunky book and they are sent off, but I didn’t have time to take photos. I still need to make a few more for my friends and family, so I’ll get on that and take photos.
Did a quick post on it for ArtGlitterBlog.blogspot.com here… But I promise to give more directions and photos soon. Enjoy!
BTW, a personal thank you to Karen. It was a wonderful class, you are a caring, helpful teacher and I had a blast!
Morning Walk
First of all I’m just going to pretend that it hasn’t been almost a year since I last blogged. So here are some shots from my regular morning walk with Scotty the Aussie this morning.

I brought my camera because I wanted to get a shot of the ground where it had become muddy and then crystallized in a pleasing way, to me anyway. If you know me you know that I really enjoy natural textures and take lots of photos that would bore most, so I’ll show you this one that has some paw prints in it, possibly Scotty’s, but see how cool the ground looks around them?

This is looking back from one of our favorite hills to walk at our little town. Our house is in there, you just can’t see it. Well, it’s so far away you really can’t see anything! The field you can see is the upper ball field at our school.

Can you spot the Scotty? Can you tell if his tongue is hanging out?

This is one of my favorite yucca plants we walk by all the time. It is pretty large and fun to watch the changes it goes through. I just love the white curly sinews!

Here we are at home. Scotty is attentive, only because he is expecting a bone from me. His feet are dirty from the canal at the school he always run through. Can anyone say…out door dog?

This is the little bit of sidewalk that was replaced in front of our house in 2000, not long after Jackson was born. I put their initials in, wish I’d had them put their hand prints in. Oh well. It is supposed to snow 3 or 4 inches tonight, that’s a real blizzard around here. Maybe it will stick past noon. I’ll take photos if it does. Enjoy ~emm
Bus Rides, The BFG and Jeffery the Insect
Okay, so I haven’t been following my new mantra: ‘Do what you want to do when you want to do it’ lately. There’s been too much work-work to do. And although I don’t believe I have to blog frequently, I think about it all the time. Think about all the things I want to tell you all, and even though you probably don’t care, I feel like you’ve missed out on so much! I write blogs in my mind, like this one, I had plenty of time to compose it while riding a bus to and from Phoenix. With 2 third grade classes none the less!
It wasn’t all that bad. I figured it was better than getting a call telling me I had to come pick my son up in Phoenix like last time! Yes he has bus sickness, not car sickness, just with buses. As we started off one teacher looked at me and said, “Doesn’t he…” then she made the universal motion for throwing up*, last year he threw up 3 times, poor Mrs. Clark! Yes, his reputation proceeds him! Although I drugged him up, I still felt obligated to go just in case. So I was his soft shoulder to sleep on.
We went to the Tempe Center of Arts to watch the play “The BFG”, the big friendly giant. It was a hit, lots of humor, even a ‘fart dance’, so of course the kids liked it! This is son number two, Jackson. He’s not so much the touchy feely kind like Ethan is so I was surprised when leaving the theater he held my hand. Then he held my hand in the bus and was full of cuddles while talking about the bug, ahem I mean insect, (don’t want to get that wrong!), Jeffrey, who was hitching a ride back with us on our window.
We got back a few minutes early somehow and Jackson was depressed about having to go back into the classroom when the teacher let him leave with me, making him very happy. As we walked up to the house he said he was very happy for two things, one, that I was there so he could leave with me early and two, that he didn’t have to walk home in the hot sun. So that’s what the whole day boiled down to, getting out of school early and ridding home. Oh yes, and one last parting thought about Jeffery, he wondered if Jeffery had moved from the window and yet, and what made him want to ride with us? These questions will just have to become part of the great mysteries of our lives. And I’m sure when I drop him off at school tomorrow he’ll pull away from me like usual when I give him a kiss goodbye, but I’ll always have today.
*Hands to mouth moving out in quick, horizontal thrusts.
Exotic Fantasy Butterfly Class
Well I had the wonderful opportunity to teach my new butterfly technique to 7 students today at Art Glitter and it was a blast! Everyone paid very close attention and made some very creative butterflies! Here’s one from Sharon, my very talented friend who drove down from Flagstaff for the class.
During the class as I was demonstrating, I was talking about how difficult it is to get a hole sometimes in a film piece this thick. Well little Miss Sharon says, why don’t you poke a hole where you want it to start? And there you go, a new technique is born. It worked wonders. You can control where the hole goes and it is easier to control the size of it too! So thank you so much Sharon! I can’t wait to take a class from you soon too!
Sharon also helped me take photos and I took some too, but I’m exhausted now, there were a couple of hic-ups during the class turning it from a 3 hour class into 4 hours – ouch – sorry all. Live and learn. I’ve been told to get over it so I’m not going to dwell over my disappointment and enjoy the fact that everyone absolutely loved their butterflies. That I am very happy for. I’m adding Sharon’s blog to my sidebar so you can visit her from here at any time. She has wonderful work.
So more photos later. One last thank you to Nancy, our store manager and teacher of most all Art Glitter classes. You were a fantastic help and my comic relief as usual. Enjoy!
